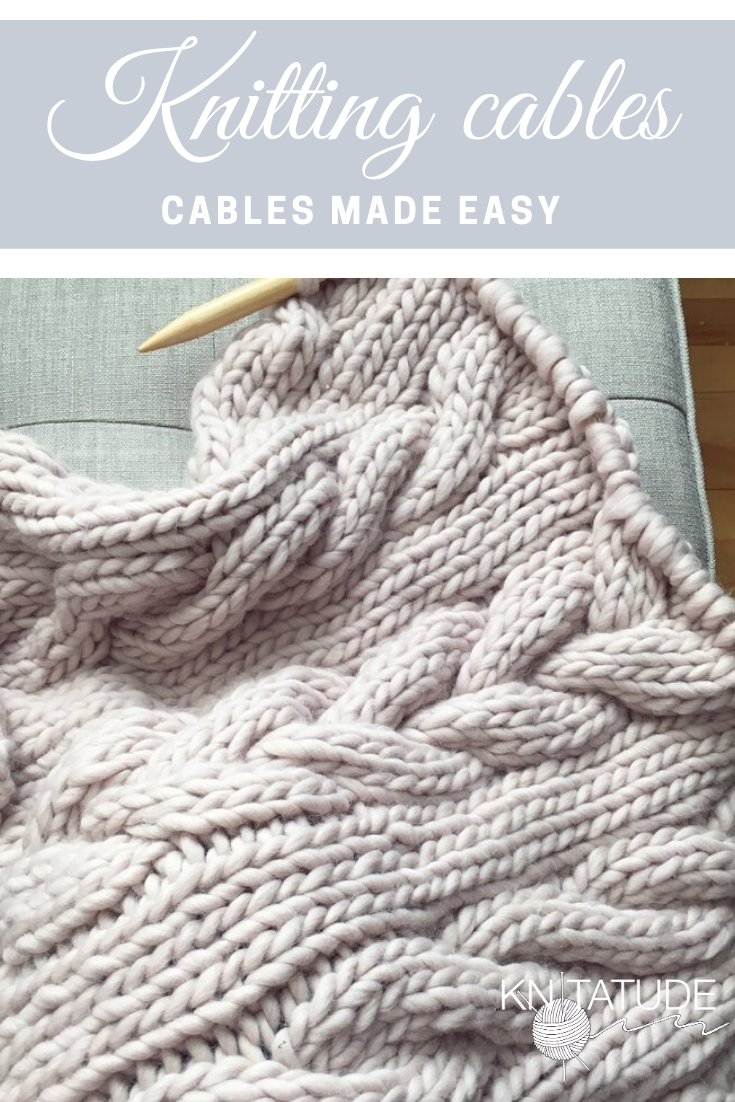
HOW TO KNIT CABLES
Cables. As a new knitter these are the dream, the life, the aspiration. They also look effing HARD! Turns out they are hella simple and they are nothing to be scared of.
When I first saw cables I was fascinated. They look so intricate and pretty but when I looked at patterns with them my brain would shut off. WTF is a C4F? I even researched how to knit cables on Youtube for months before actually trying one. Ooh boy am I glad I did. They are my fav.
What is a cable?
Essentially a cable knit is when you knit stitches out of order. That's it. That simple. Imagine that you have four stitches like the picture below. All you're going to do is knit stitches 3 and 4, before 1 and 2.
How?
Place the first two stitches (1 and 2) onto a cable needle (The pink thing Pictured in the video, or a Double pointed needle) to hold onto them until they are needed later. Hold those stitches that you just transferred onto the cable needle behind, or in front of your work depending on the pattern and forget about them for now. Knit stitches 3 and 4 like you normally would. You'll notice that it feels a bit tight to close that gap from the first two stitches. That's totally alright. Then knit the two stitches off of the holder.. This will also feel wonky, but don't doubt yourself. Tada! You're done! Not so bad hey? On the second side (or your next row) make sure to purl these stitches. It makes them stand out more.
How to make Cables pull certain ways
This is where the B and the F come into play. If you drop your stitches on the holder into the back of your work it means that the next stitches you knit will lay in the front and pull the twist to the right. If you drop the stitches on the holder in the front it means the stitches you will knit next will lay in the back and the ones knit off of the cable needle after will land in the front and pull to the left. Pretty cool huh?!
How to read a cable pattern
If you're anything like me, cable patterns look like Klingon. Like complete gibberish. It's ok. All you need to do is break them down stitch by stitch. In cable patterns you'll usually see two things: something like C4F or a C4B etc. The C stands for "cable", the number stands for the number of stitches the cable will take place over (aka the full cable with both "strands" twisting) and the F & B stand for where to drop your cable needle holding the stitches. F is to drop it in the front of your work, and B stands for dropping them in the back of your work.
Example: If you have C4B you would take the first half of the stitches (2) and put them on a cable needle and drop them in the back of your work. Knit stitches 3 and 4 like normal, then knit stitches 1 and 2 off the cable needle.
Find the cable patterns below:
Pattern for the above, set up rows:
CO 20 sts
R1: P2, K4, P2, K4, P2, K4, P2
R2: K2, P4, K2, P4, K2, P4, K2
R3: repeat R1
R4: Repeat R2
STARTING THE CABLE REPEAT:
R1: P2, C4B, P2, C4F, P2, C4B, P2
R2: K2, P4, K2, P4, K2, P4, K2
R3: P2, K4, P2, K4, P2, K4, P2
R4: K2, P4, K2, P4, K2, P4, K2
Repeat these 4cable repeat rows until the length desired.
Set up rows:
CO 19 sts
R1: K3, P2, K9, P2, K3
R2: P3, K2, P9, K2, P3
R3: Repeat R1
R4: Repeat R2
STARTING THE CABLE REPEAT:
R1: K3, P2, C6B, K3, P2, K3
R2: P3, K2, P9, K2, P3
R3: Repeat R1
R4: Repeat R2
R5: K3, P2, K3, C6F, P2, K3
R6: Repeat R2
R7: Repeat R1
R8: Repeat R2
Repeat R1-8 in the cable repeat until desired length.
Has this helped you? Have you been nervous to delve into cable knitting? Let me know. i would love to hear!


